Ecommerce Solutions
The right eCommerce solutions for your online business are critical. Uptime is of primary importance but you're a growing business and enterprise solutions are overkill. This is where Arcane shines. Our engineers are 10+ year ecommerce veterans, having performed dozens of integrations with SAP, Oracle, BlueCherry, TradeGecko, and many other ERP and CRM solutions, plus every major gateway. Explore our selection of ecommerce hosting support services!
Introducing Stripe Terminal Standalone POS. This Verified Stripe Partner application will convert your Stripe account into a point-of-sale checkout portal when using Stripe, BBPOS, and Verifone devices with the Stripe Terminal. No website required!
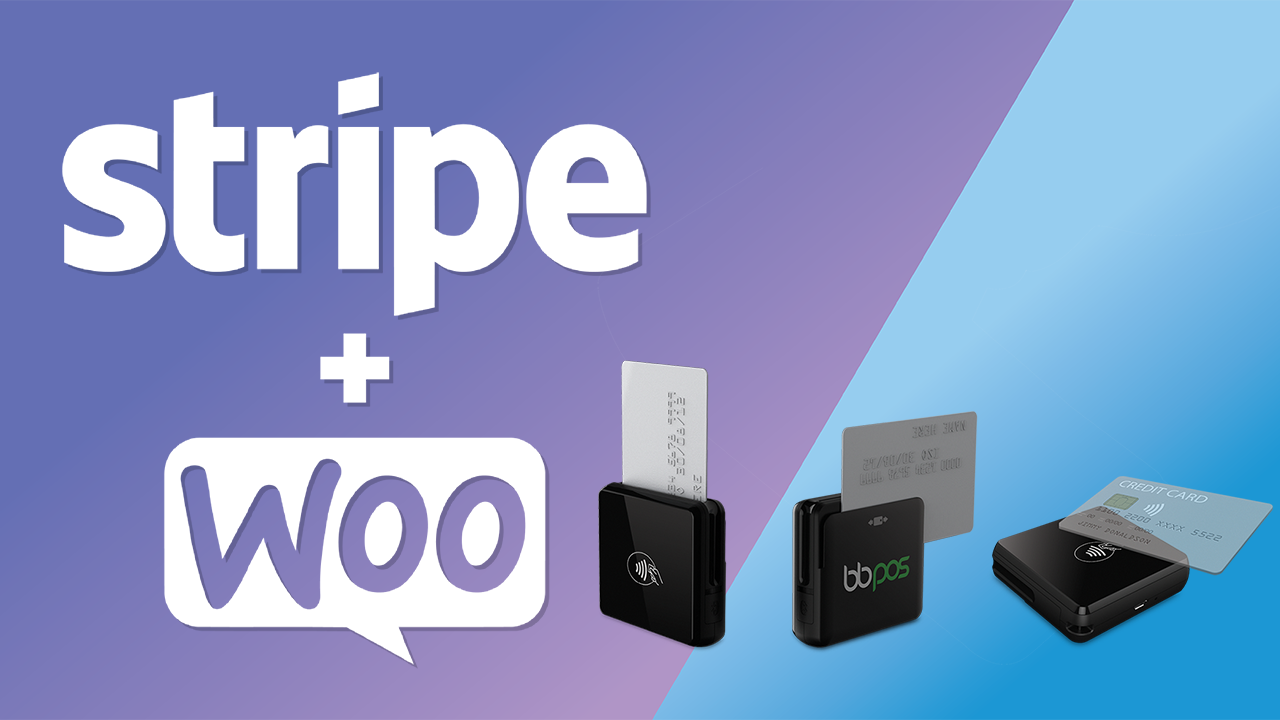
Introducing the first and only Stripe Terminal plugin for WooCommerce. This Verified Stripe Partner plugin will convert your WooCommerce store-front into a point-of-sale checkout portal when using a Verifone, Stripe, and BBPOS devices with the Stripe Terminal.
Need managed cloud support for a web app? Arcane's managed services monitors both your servers and websites to take immediate action in the event of downtime. With access to ticketing and a dedicated phone line, you can ensure that Arcane takes hands-on action, 24/7, with U.S.-based engineers to keep your business moving.
Enterprise Solutions
Your online business needs white glove treatment with the right enterprise solutions. Uptime is of primary importance and when it comes to enterprise hosting support, you only want the best! We totally get that. Our enterprise clients include multi-million dollar and Fortune 500 companies looking for fast response rates and expert precision. Our solutions handle and process upwards of 50,000 concurrent users and more than $1 million in transactions daily!
Introducing Stripe Terminal Standalone POS. This Verified Stripe Partner application will convert your Stripe account into a point-of-sale checkout portal when using Stripe, BBPOS, and Verifone devices with the Stripe Terminal. No website required!
Need managed cloud support for a web app? Arcane's managed services monitors both your servers and websites to take immediate action in the event of downtime. With access to ticketing and a dedicated phone line, you can ensure that Arcane takes hands-on action, 24/7, with U.S.-based engineers to keep your business moving.
With over a decade of experience in building teams at various agencies, Arcane Strategies knows exactly how target efficiency and speed to market. Our operations consulting team will help you create systems, both automated and human, which reduce overhead.
Small Business Solutions
Your small business values your website and digital assets but downtime could stop your business in its tracks and you need to be budget-conscious about your small business solutions. Perhaps you're running an informational website or maybe you have a light ecommerce interface on Shopify or WooCommerce. Arcane has ways to help support and optimize your assets with our small business hosting support services.
Introducing Stripe Terminal Standalone POS. This Verified Stripe Partner application will convert your Stripe account into a point-of-sale checkout portal when using Stripe, BBPOS, and Verifone devices with the Stripe Terminal. No website required!
Introducing the first and only Stripe Terminal plugin for WooCommerce. This Verified Stripe Partner plugin will convert your WooCommerce store-front into a point-of-sale checkout portal when using a Verifone, Stripe, and BBPOS devices with the Stripe Terminal.
Need managed cloud support for a web app? Arcane's managed services monitors both your servers and websites to take immediate action in the event of downtime. With access to ticketing and a dedicated phone line, you can ensure that Arcane takes hands-on action, 24/7, with U.S.-based engineers to keep your business moving.


